How to Change a Snowblower Belt: A Guide to Follow

By
Nora Held
Nora Held
Research Writer
Apart from being our main writer, Nora also works for a number of gardening-related sites and magazines, sharing her experience as an owner of a small farm in North Carolina read more
reviewed
Reviewed By
Bruce Williams
Bruce Williams
Expert Consultant
Bruce owns a small farm and loves to grill since his early childhood. He’s a professional cook, but hiking and enjoying the great outdoors is his no less favorite part of read more
Last updated: September 05, 2023
BackyardStyle.com is reader-supported. We may earn a commission through products purchased using links on this page. Learn more about our process here

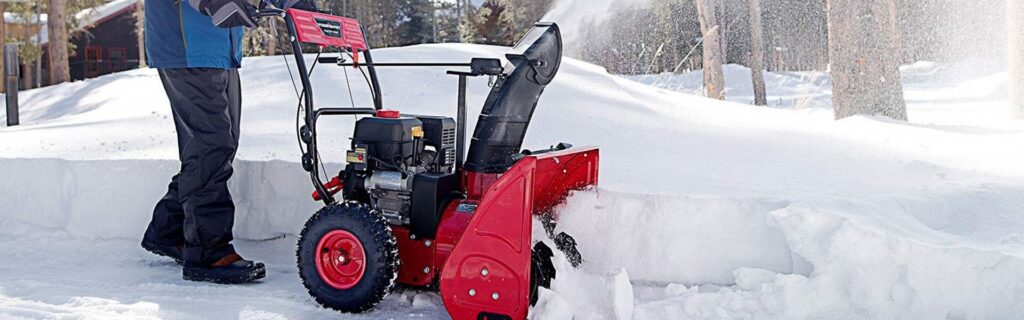
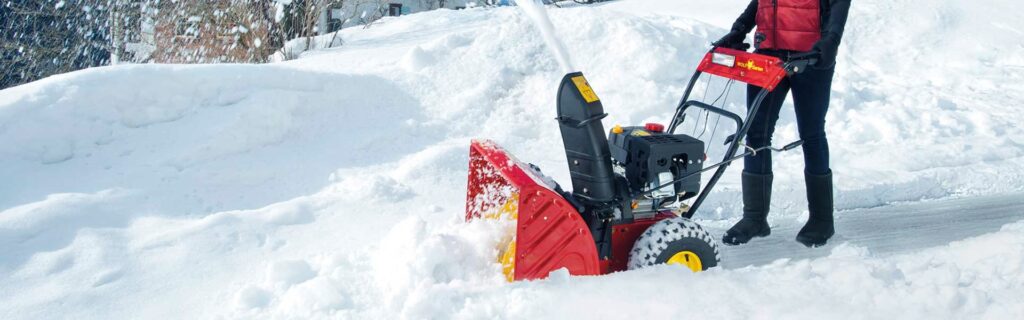
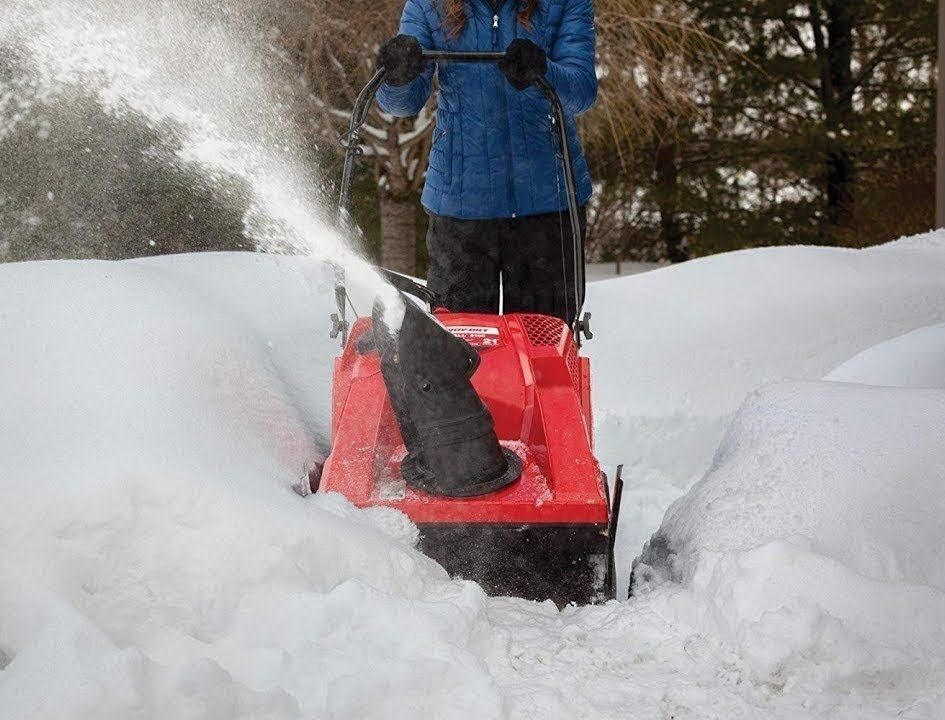
The snowblower Trusted Source Snow blower - Wikipedia snow blower or snow thrower is a machine for removing snow from an area where it is problematic, such as a driveway, sidewalk, roadway, railroad track, ice rink, or runway. en.wikipedia.org is no doubt the best tool for removing snow from the driveway, roadway, sidewalk, railroad track, runway, or ice rink. Whether you have a two-stage snowblower or a three-stage model, the typical snowblower uses two separate belts during operation. One belt drives the snowblower wheels, while the second belt operates the auger.

The snow throwers’ track drive belt and auger belt can eventually wear out and break. You can adjust both the wear and stretch belts, but sometimes you will need to replace them.

If the snow thrower will not move forward, the belt needs the track for adjustment or replacement. So, you will need to know how to change a snowblower belt.

When changing belts on a snowblower, it is a good idea to replace both at the same time. The belts remove in the same way and involve removing the snowblower covers. Although the different manufacturers have small differences, the change of the belts is similar between all the models. Replacement straps are available at home improvement stores, online stores, or from your manufacturer.

Why the belt is so important

The auger belt is the most important belt on the snowblower. This controls the amount of electricity that comes through the fan hoses.

The snow thrower uses two separate belts during operation. Every fifth belt drives the snow thrower wheels, while the second belt operates the auger.

How do you know when you need to replace a belt?

Over time, your drive belt can become brittle and snap into place. When this happens, the snow thrower will stop firing the snow from the falling fan. A snowblower belt will wear out after five to seven years and will need replacement.

You can tell the auger belt needs adjustment or replacement when the control cable is properly adjusted, but the snow does not trigger. You have to replace the belts instead of adjusting them when there is visible damage.

The time to know you need to replace a belt on your snow thrower is not in the middle of winter during a snowstorm.

Fortunately, if you have a spare belt handy, changing the belt doesn’t take more than 10 minutes. If you have a replacement socket wrench and a couple of belts, you are more than ready to change your snowblower belt.

Things you need to change a belt

Below are things you will need while changing or adjusting your snowblower drive belt:

  • Snowblower belts
  • Socket wrench

How to replace snowblower belt in 8 easy steps

How to Change a Snowblower Belt: A Guide to Follow

  • Step 1: Siphon fuel from the snowblower fuel tank in a gas canister with a handheld siphon. The snowblower requires tilting. Siphoning the fuel line will prevent it from spilling. Disconnect the spark plug wire from the spark plug.
  • Step 2: Remove the bolts that secure the belt cover to the upper front of the snowblower motor with a socket wrench. Pull the belt cover on the power sweeper to reveal the two belts. The identification of the outer belt of the auger belt and the inner belt is the drive belt. Roll top pulley auger belt. The upper pulley is the motor pulley. There is an outer idler pulley that applies some tension to the auger belt. If necessary, place a wrench in the outer idler pulley nut, and pull the idler pulley forward to allow enough slack to remove the belt from the auger.
  • Step 3: Find the idler pulley directly under the drive pulley. The tensioner pulley is mounted on the engine and tension is applied to the drive belt. Place a wrench on the idler pulley nut, and push the wrench down to pull the idler pulley forward. This releases the tension on the drive belt. Keep the key down and the pulley forward while removing the drive belt from the upper motor pulley. Slowly release the idler pulley.
  • Step 4: Tilt the snowblower forward so that it is resting on the auger housing. The snowblower wheels will be off the ground. Remove the bolts holding the lower frame cover to the snowblower with a socket wrench. Remove the cover from the snowblower.
  • Step 5: Find the screw that serves as a clamp strap around the auger pulley. There is a spring that runs from side to side, and the bolt is near the left side of the spring. Remove the bolt with a socket wrench. Disconnect the spring from the frame and remove the auger belt from the snowblower. Slide the friction wheel drive belt over the auger pulley. Maneuvering the snowblower drive belt.
  • Step 6: Position the new belt in the snowblower and around the friction wheel. Insert the auger belt over the auger pulley and the remaining ribbon thread toward the top of the snowblower. Stretch the frame spring back to the other side of the frame, and hook the spring in place. Install the clamp bolt that serves as the strap fixator.
  • Step 7: Place the lower frame cover in position and secure it with the retaining screws. Carefully tip the snowblower down into the upright position. Pull the idler pulley forward with the wrench and hold the pulley in position. Drive belt path between idler pulley and overdrive pulley. Inspect the drive pulley friction plate belt to ensure there are no kinks. Slowly release the idler pulley to apply tension to the drive belt.
  • Step 8: Place the auger belt between the outer idler pulley and the outboard motor drive pulley. If necessary, pull the outer idler pulley forward a little to set the auger belt and it’s done.

Here’s a quick video showing how to replace a snowblower augere belt.

Safety and maintenance tips

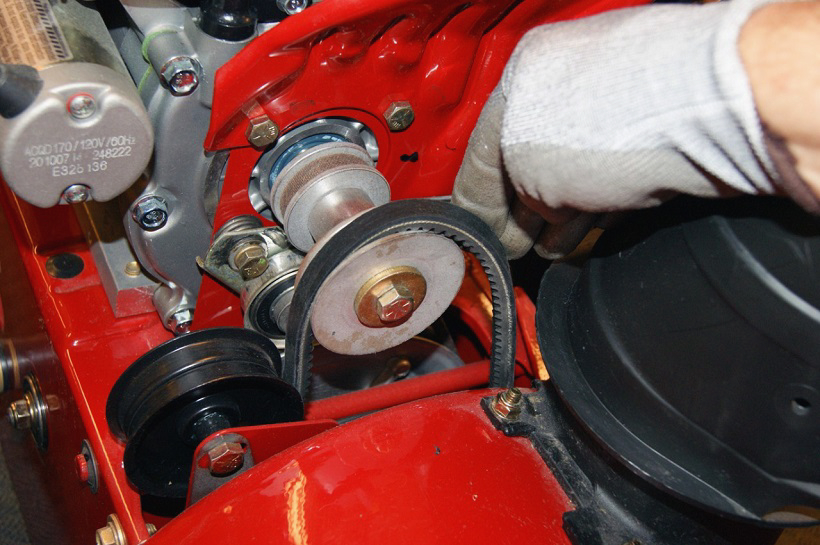
Snowblower drive belts are designed to transmit rotational motion from the driveshaft to the drive. In snowblowers, there are 2 types of belts. The first belt connects the auger shaft to the drive shaft and the second transmits rotational motion to the wheels. In cases where the unit refuses to drive, there can be 2 reasons: wear of the friction ring and breakage of the drive belt. If the friction is correct, then repairing the fault means changing the transmission belt. The drive belt is replaced in the same way as the auger belt. Once the worm gear mechanism has been disconnected, it is necessary to remove the cover that hides the drive pulley (indicated by an arrow). In this section, we’ll see tips on how to maintain the snowblower belt and also the snowblower in general.

To extend the service life of the snowblower and reduce the risk of various malfunctions, you need to follow certain rules to maintain this type of equipment.

  • Before winter becomes necessary, check all fixing screws on the snowblower and, if necessary, tighten them. You should also check the belt tension and the condition of all moving parts of the unit.
  • Turn the device over, check the integrity of the scraper shaft. If this part is worn out and not replaced in time, it will damage the worm body later.
  • Pay attention to the oil level in the crankcase. The more often you check the oil level, the less likely the engine will break down. On average, the oil will be consumed after 25 hours of using the snow thrower.
  • When snow clearing is complete, do not immediately turn off the engine. It is necessary to let the machine idle. This will allow the moving parts of the snow thrower to get rid of leftover snow and ice. It is also recommended to pour lukewarm water on the units covered with snow or ice, then wipe and dry them. If any moisture gets into the mechanisms of the device, you can remove it by using kerosene spray (sold in cylinders). After cleaning, the snowblower should be stored in a garage or warm room.
  • Also, once a season you need to lubricate all the bearings, gearbox, and eccentrics. For lubrication, you can use LITOL-24.
  • Before sending the snow thrower on for long term storage, it is necessary to: remove the dirt accumulated on all parts of the unit; remove all moisture from all nodes of the device; drain all gasoline from the tank and lubricate it; Remove the battery (if provided by the design of the unit) and store it separately from the device.
  • As for electric snowblowers like the Briggs & Stratton 1024, their maintenance is identical to that of gasoline units such as the Ariens ST24LE Deluxe 24″ Snow Blower, except for the engine maintenance rules.

Final thoughts

When the cold comes and snow falls, it helps to have a snowblower to clear roads, parking lots, and sidewalks. Like any mechanical device, snow blowers must be maintained adequately and the worn-out parts replaced. Drive belts are an essential part of snow blowers that transfer power from the engine to the flywheel. Taking note of our tutorial on how to change a snowblower belt, it should be replaced when they wear out or break. Replacing the belt yourself can be done relatively easily and cheaper by yourself. This saves you the cost of taking the snow blower to a mechanic.

References

1.
Snow blower - Wikipedia
snow blower or snow thrower is a machine for removing snow from an area where it is problematic, such as a driveway, sidewalk, roadway, railroad track, ice rink, or runway.

Leave a comment

Your email address will not be published. Required fields are marked *