According to Yahoo Finance Trusted Source Tiller Machine Market Research Report by Product Type, by Mechanism Type, by Tilling Width, by Power Capacity, by Transmission | Yahoo Finance The report provides market sizing and forecast across five major currencies – USD, EUR GBP, JPY, and AUD. finance.yahoo.com , the global tiller market is projected to grow from USD 2,392.97 Million in 2020 to USD 3,101.79 Million by the end of 2025. More and more people are using tillers in gardening, and their popularity is gaining momentum. You can be sure to enjoy the best cultivation results when you know how to conduct Mantis Tiller carburetor adjustment properly. This is not a problem at all, even when dealing with hard soil.
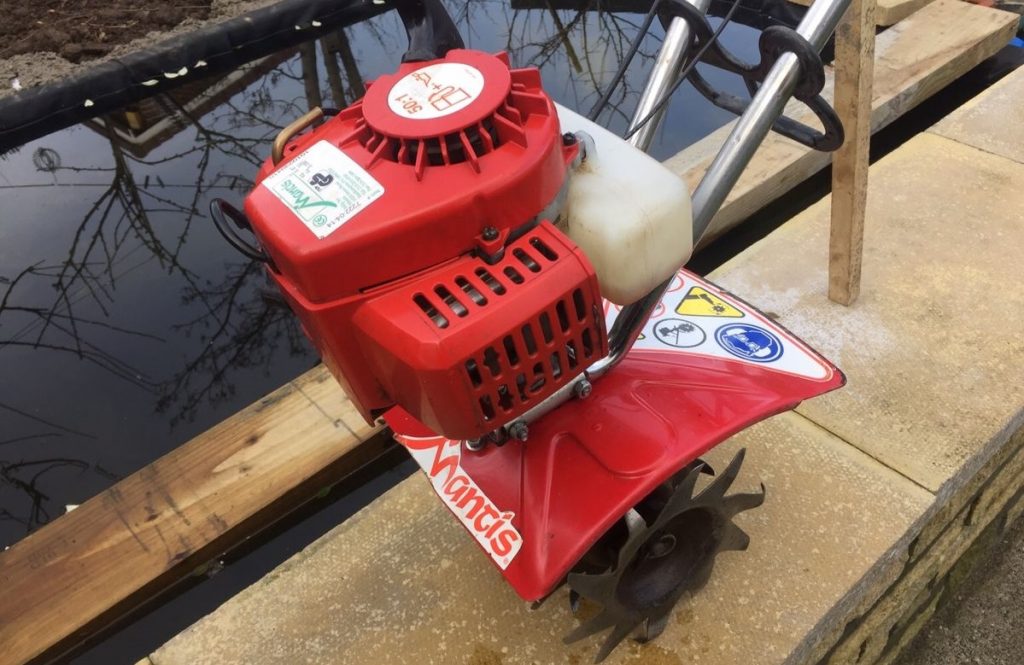
To adjust the Mantis tiller, you’ll need red and white adjustment screws, which you can find close to the black choke button located on the right side of your tiller. You should use the red screw to regulate the high-speed settings of your Mantis tiller carburetor and the white screw for low-speed settings. The first step we will deal with in this article is the preparation of your Mantis tiller carburetor, followed by the steps to adjust it.
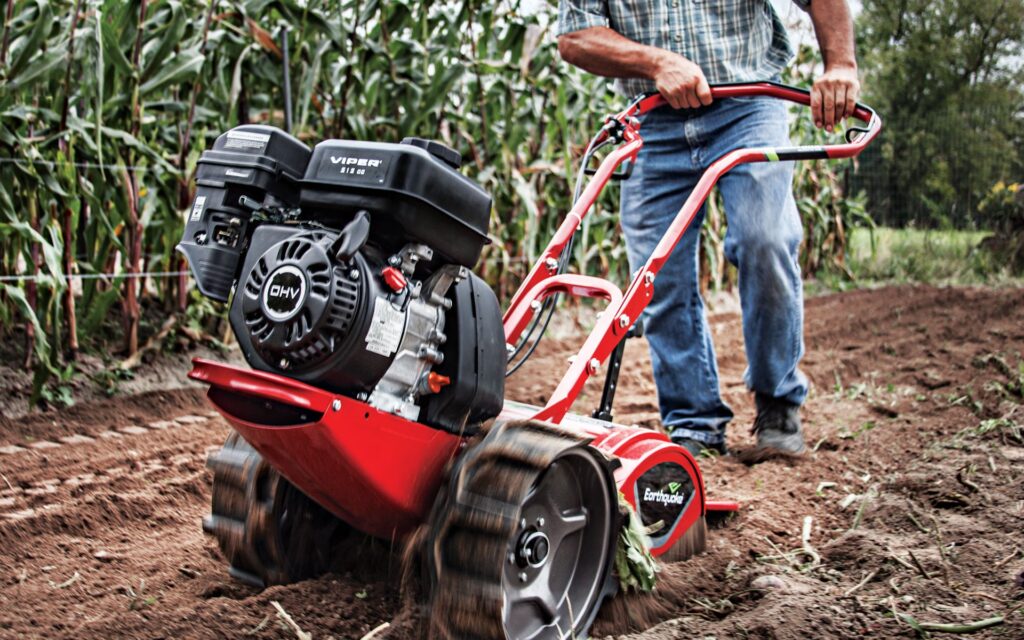
When planting season arrives, you may be required to churn a lot of hard ground. Going about this by hand may not be an option, especially if you have a big farm. You should aim at finding the best rear tine tillers in the market.
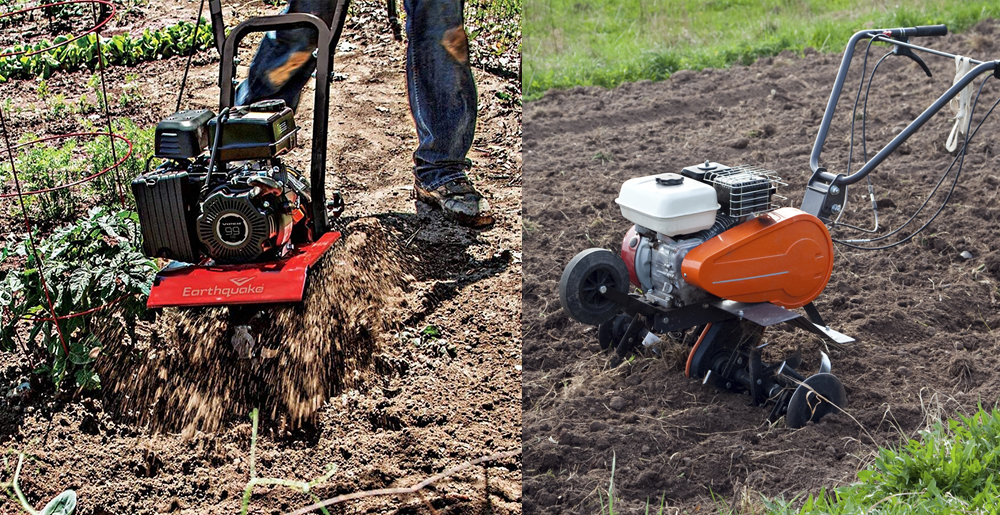
The Mantis 3550 Electric Tiller, in particular, is a favorite of many cultivators with thousands of positive online reviews. It is among the most sought-after machines in its category. It can be used in both high and idle throttle modes without requiring oil. Another lightweight Mantis cultivator worth looking at is the Mantis 7321 Aerator/Dethatcher. Both Mantis tiller models are popular because they are lightweight and still pack so much power.
It is advisable for you to get your user manual Trusted Source Operator's/Parts Manual | Mantis Tiller/Cultivator This machine comes with Operation and Safety instructions, Parts and Service instructions and Engine instructions. The useful life and good service you receive from this machine depends to a large extent on how well you read and understand these manuals www.mowersdirect.com to find any parts mentioned in this guide quickly. The manual may also help you understand how to initiate adjustments.
Below are the steps that you should follow to prepare your Mantis tiller carburetor before adjusting:
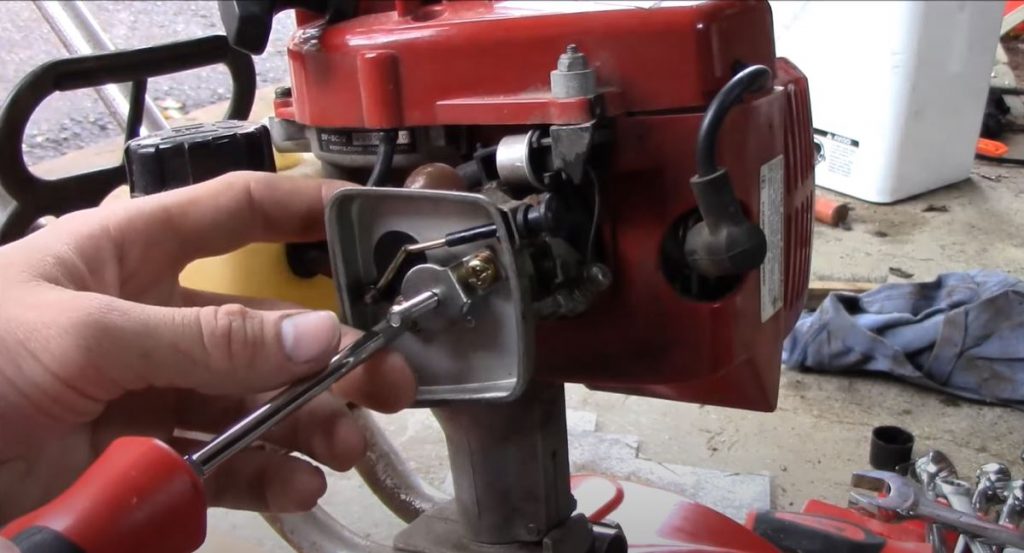
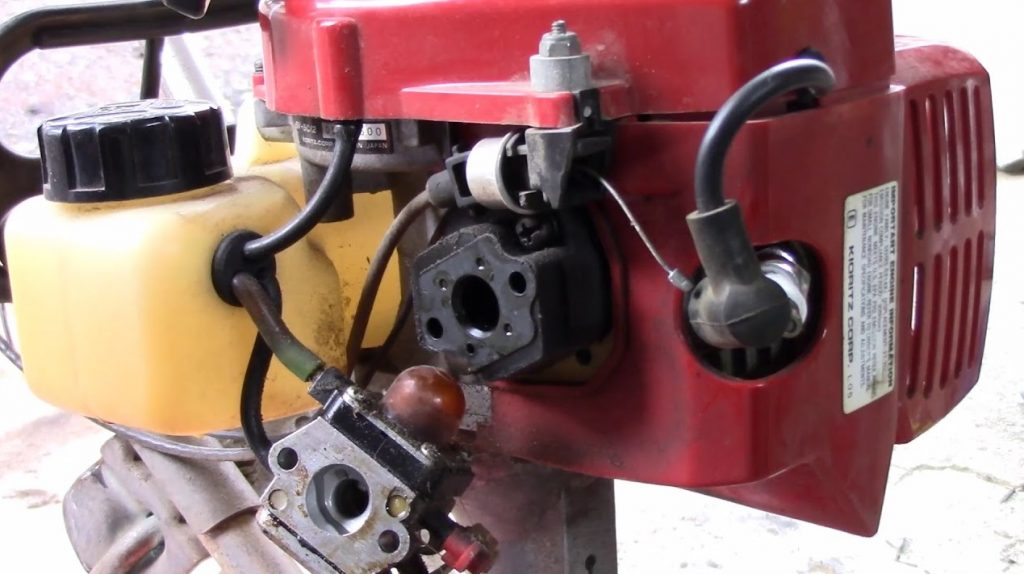
The first thing you need to do is locate the wing nut that is holding the air filter cover. In order to remove the air filter cover and allow you to access the choke button, you will need to unscrew this nut. Once the nut is securely out of the bolt, you can go ahead and remove the air filter cover.

Once you gain access to the air filter, you should check it for any damage. If you discover any dirt or damage on the filter, you should clean or replace it respectively. It is essential that you have a clean and undamaged air filter before deciding to adjust your Mantis tiller. You should then locate the two adjustment screws that are color-coded white and red found just under your primer bulb. This is on the right side of your engine with the red screw on the right, and the white screw is on the left.
You should then locate the retaining pins where the tines are affixed. This is at the tip of each axle of your tiller. Get a hold of the extended portion of each of the pins and pull them out of the opening at the end of the axles. Then twist the pins to eject them from the axle completely. Once the supporting pins are out, you should gently take the tines out and place them aside before adjusting your cultivator.
Below are the steps that you will use to adjust your Mantis Tiller carb settings.
First, run the engine and stand by for about 3 minutes as it runs at idle speed. Once the three minutes are over, you can then eject the black choc button for a short while. This will ensure that the engine does not stall, which is vital in this process. This action will allow the air in the fuel system to get out as the engine of your Mantis Tiller carburetor gets hotter.
Having located the white and red screws, you should go to the red screw and rotate it anti-clockwise until it reaches its fully unscrewed position. The next step is unscrewing the white screw until it is almost wholly ejected or when you feel some resistance. While still on the white screw, turn it the other way round until you cannot turn it anymore.
When doing this, keep note of the number of needed revolutions until the white screw cannot be turned. Get half of this value which will be the number of anti-clockwise turns you make on the white screw. This is aimed at ensuring that it is midway between its two extreme positions.
For this step, you will be required to run the engine of your Mantis Tiller at full throttle for about 3 seconds to ensure that any excess fuel is used up. It would help if you then readjusted the throttle so that it is at its idle mode. With any excess fuel cleared out, you should then reverse the engine of your Mantis tiller to full throttle and take note of any irregularities during the transition.
If you notice any delays or your engine sputters noisily, you should turn the white screw about an eighth of a revolution in the anti-clockwise direction. Restart your engine at this position of the white screw and look for any improvement in the engine’s working.
If you still aren’t receiving a smooth run, keep adjusting the white screw in increments of an eighth of a turn in the anti-clockwise direction until you have a smoothly running engine in the idle throttle mode.
Once this is done and you notice that your engine is running too fast, you should adjust the red screw in the same way until you get the maximum speed that you want. Keep adjusting both the white and red screw until you get the perfect transition from low to high throttle.
Garden tillers, including Mantis tillers, are built to handle tough clay soil. They are easy to maintain and adjust, making them a favorite for many cultivators. You can use the user manual for your model and this guide to help you solve the problem if your cultivator is not running smoothly. Making these minor adjustments will not only make your Mantis Tiller run smoothly, but it will also improve its lifespan.
We hope this article gave you a clear answer on how to conduct Mantis tiller carburetor adjustment properly.