The demand for garden hoses Trusted Source Garden Hose Demand to Grow 3% Annually Through 2021 - CISION Demand for garden hoses in the US is forecast to rise 3% per year to $435 million in 2021. Growth will be driven by an improved economy and the development of the higher quality products that are most desired by consumers. Growth will be more broad-based compared to the previous five-year period due primarily to the leveling off of demand for expandable hoses. These and other trends are presented in Lawn & Garden Watering Products Market in the US, a new study from The Freedonia Group, a Cleveland-based industry research firm. www.prnewswire.com is on the rise. Many people carry hoses around their yard to water various plants and their lawn. But, this can be a frustrating task because you can trip over the hose, damage it and the coverage isn’t as efficient as it could be. For this reason, many homeowners install an underground hose to carry the water throughout their yard. This may seem simple, but there are some things that you need to be aware of before you make a final decision. Let’s take a closer look at the benefits of an underground water hose and the installation considerations in more detail.
Many people wonder how to bury a garden hose underground because there are four key benefits, they are:
Even if you purchase the best rubber garden hose it can still be susceptible to damage from a variety of sources. When a hose is run along the surface of the ground it’s exposed to temperature extremes that can cause cracks in summer and freezing damage in winter. UV exposure can degrade even high-quality rubber materials quickly and it makes sense to protect them.
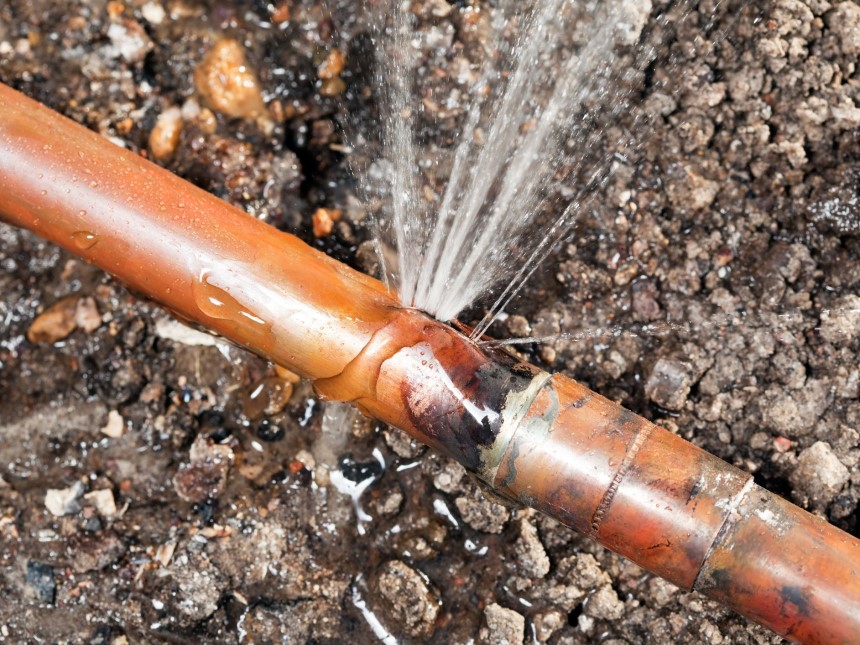 Any rubber or metal hose can be damaged with a puncture from a number of sources. If you have a drive-on lawnmower or other vehicles operating in your yard this risk is intensified. When a hose is punctured it can be cut and reconnected but this shortens the hose making it less versatile in the long term.
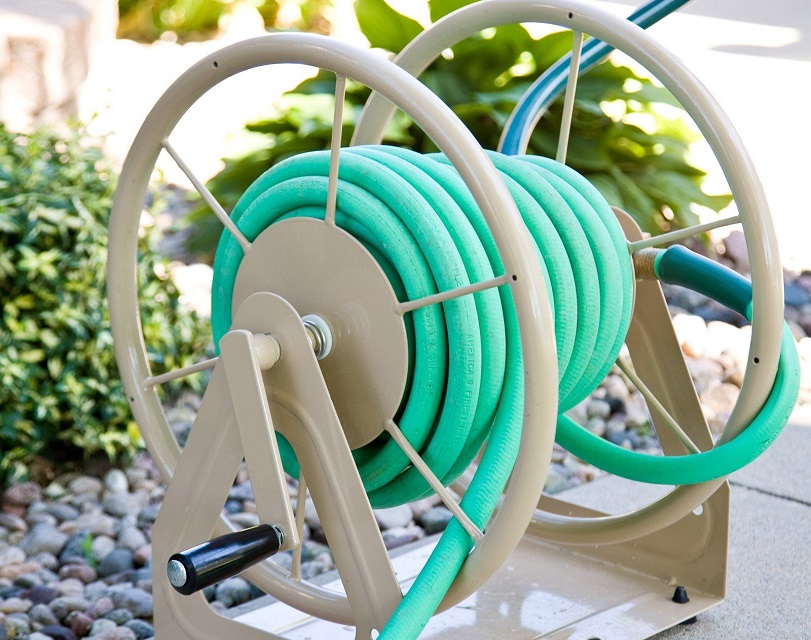
Even the best lightweight garden hose can be a hassle to carry around to the same locations repeatedly. If you have a larger yard or you live in a rural area with a few acres you will quickly grow tired of this situation. In these types of scenarios it would make good sense to install a waterline underground to make the process easier.
We briefly touched on this problem earlier, but it’s important to realize that an underground irrigation hose is less likely to freeze in winter. If you live in an area with a mild winter climate, the surface can freeze, but the ground may not. This means that you can use your buried hose throughout the year without taking any special precautions. If the ground does freeze where you can install the waterline in a deeper trench or take other steps to mitigate this potential problem.
Once you’ve decided to choose this route for water delivery the obvious next question is which is the best garden hose to bury under my yard? There are three materials to choose from and two additional aspects that you need to consider. Please bear in mind that you will have to dig trenches and install the hoses underground. This takes considerable effort; you don’t want to repeat the process for as long as possible. So, it makes good sense to set things up correctly to ensure that the system endures for a long time. Here are five materials and two other considerations that you need to take into account:
 These are tempting options because they are good quality and the better ones are extremely durable. Don’t confuse this material with a vinyl hose, they simply are not as good, they develop kinks easily and you can’t adjust them when they are buried.
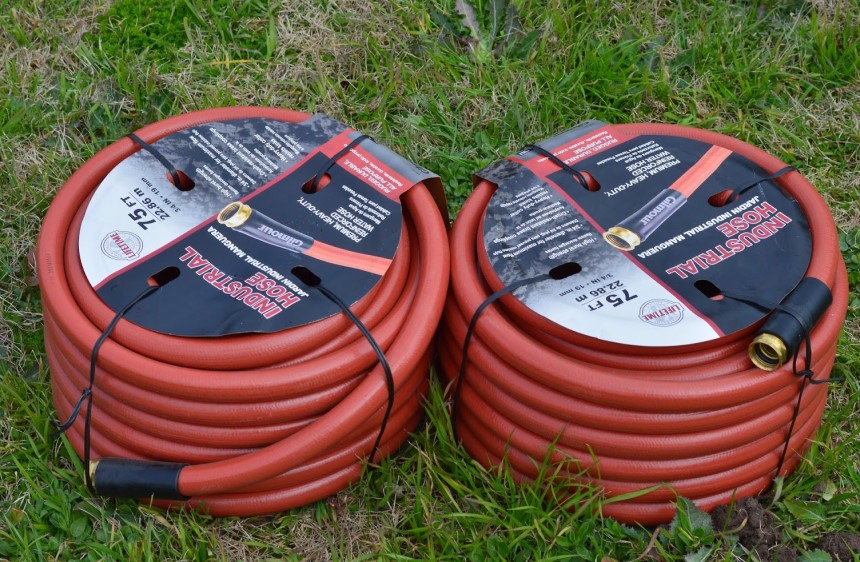
Rubber is a fantastic material, it’s a good option for a hose that you want to bury underground because it’s durable and long lasting. A rubber hose is less susceptible to kinks when laid correctly and you can equip high quality hardware on the ends of the hose.
Investing in the best metal garden hose that you can afford makes good sense if you have the available budget. Metal hoses can resist ground pressure and shifts that can crush lesser hoses and they have a longer lifespan.
Make sure that your garden hose can resist temperature extremes that may still be encountered at the depth of your trench. This will reduce the chances of cracks and breaks due to freezing and UV damage where the hoses connect to the surface.
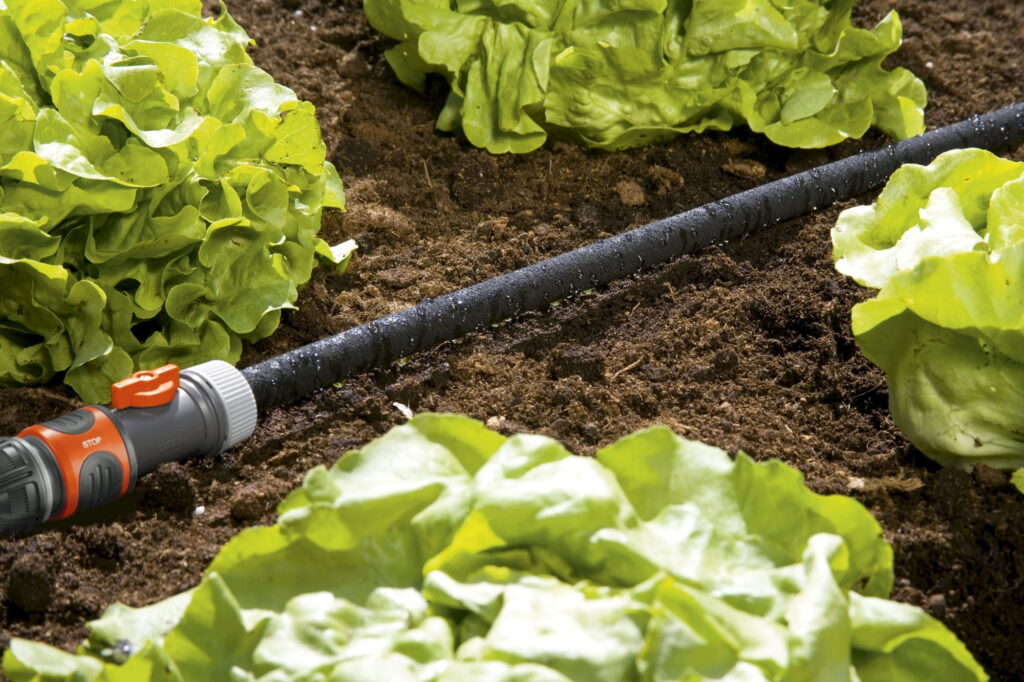
Always use a larger diameter underground sprinkler hose for this type of system. Most homeowners install a system like this because they don’t want to run a hose for long distances that may lower the water pressure. If you install a garden hose with a ½” or ⅝” diameter you will not encounter water pressure issues.
Here are the tools and materials that you will need to create your underground waterline:
The Tools
The Materials
 There are a couple of ways to tackle this project, you could dig the trenches and add the pipes at the same time or work on it a section at a time. Building by sections is less messy, but many people prefer to get all the digging out of the way first. There is no right or wrong way to approach the work, just pick the method that suits how you like to work. Whichever option you choose the installation process can be broken down into five easy to follow steps:
Before you can install an underground soaker hose you need to locate the hydrants around a foot down into the ground. This will not guarantee that the pipe will not freeze in every climate, so if you live in an area that is susceptible to ground freezing you may have to go deeper.
If you live in a mild climate you can even avoid dipping to a foot to reduce the amount of digging required. However, if you want to install the hose bib underground to reduce the amount of disruption of the surface you need at least one foot of depth.
Roll out the pipe, place it in the trench and weigh it down with some smooth rocks or other heavy items that will not puncture the hose. If you work from the water source outwards you will find this process goes easier. Throughout the pipe length of the pipe you will need to install the valves and faucets where you can place a hydrant to access the water. This is where you will install a combination tee with a pair of 1” connectors to attach to the pipe and a ¾” hose bib thread. Installing the tee can be tricky, you can soften the rubber with a propane torch put be careful to avoid burning the pipe. Once the connector is installed put a hose clamp on it to keep it secure. The screw in the hose bib, make sure it’s orientated correctly and install it at a depth of 1 foot. This whole assembly will be placed under a hatch and you can perform pressure tests as you proceed.
This is simply a hole to house the hose bib with a hatch to cover the opening to improve safety. Leave a small gap to attach the hose and cover the hole with the cement tiles. You can add an exterior plywood cover with an opening for the hose with a lip to hold the plywood in place on top of the cement tiles. This may sound complicated but you can experiment with the cover system to get something that works for your needs.
Avoid placing large sharp rocks back in the trench to make this process easier and to protect your new waterline. Start by using a heavy-duty hoe to move the soil back in the trench. If you had to move out a lot of rocks you may discover that you cannot refill the trench with the soil that you have. It may be necessary to haul in some extra soil to make up the difference and fill the trench. Once the trench is filled you can place the turf on top and it will grow back eventually to create an even surface. Be careful around your new hydrants, don’t fill these areas, you need to have them free to attach your hoses later. If you’re working in sections you can fill around the hydrants as you go. If you’re doing the entire trench at one time simply cap the pipe ends where you need a hydrant and finish them later. If you’ve done a great job you won’t see any trace of a trench on the surface after a few months. The turf will grow back and only your homemade hatch covers will be visible.
During the winter months the underground hose reel and pipes may freeze so it’s a good idea to shut-off the water entirely. You can remove any excess water by blowing out the pipe with a few bursts of compressed air. If you live in a moderate climate and your trench is closer to the surface you can even open up the hatches and hydrants to clear the water. Gradually, you may notice that the ground settles, this soil level adjustment may cause some sagging along the length of your underground waterline. So, you may need to add more soil later to fill these gaps.
It may be necessary to adjust the hydrants when the soil has set and the exterior plywood may need replacing every few years.
There are two main drawbacks to burying your garden hose that you need to consider, they are:
As you can see, installing an underground hose can be a little complex but it is well within the capabilities of a person with good DIY skills. When you want to use your new underground waterline it’s a great idea to install the best garden hose quick connect system that you can reasonably afford. This will make it easier to quickly connect and disconnect your hoses for a wide variety of tasks, including: watering, cleaning, car washing and more. Placing a waterline underground may be a significant task but it can make your life far easier if you have a large yard or garden.