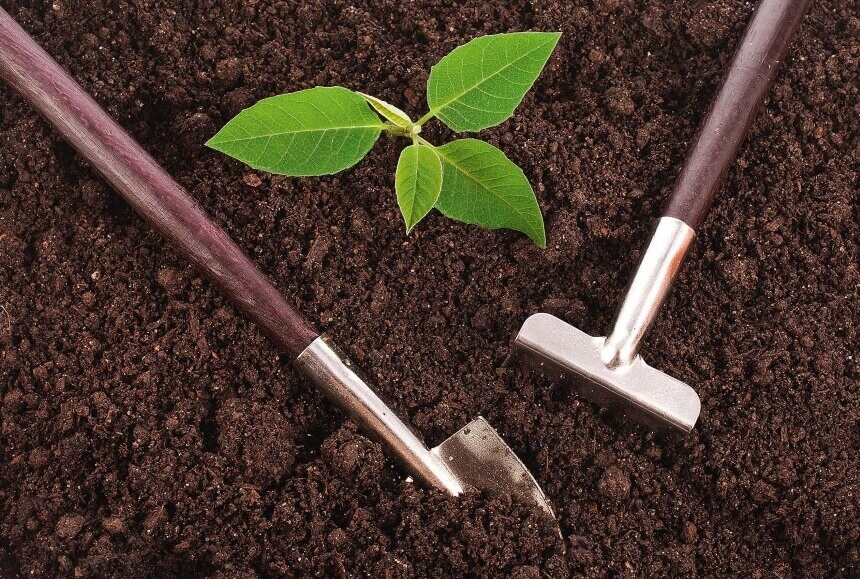
There are many reasons why people sterilize soil today. Technological advancements in the agriculture sector has availed numerous options that one can use to get the garden or farm ready for the next planting season. If you are unsure on how to sterilize soil, it is best to seek the advice of experts in the field to ensure you get it right. This will help you prevent damage to the soil you want to use for your plants.
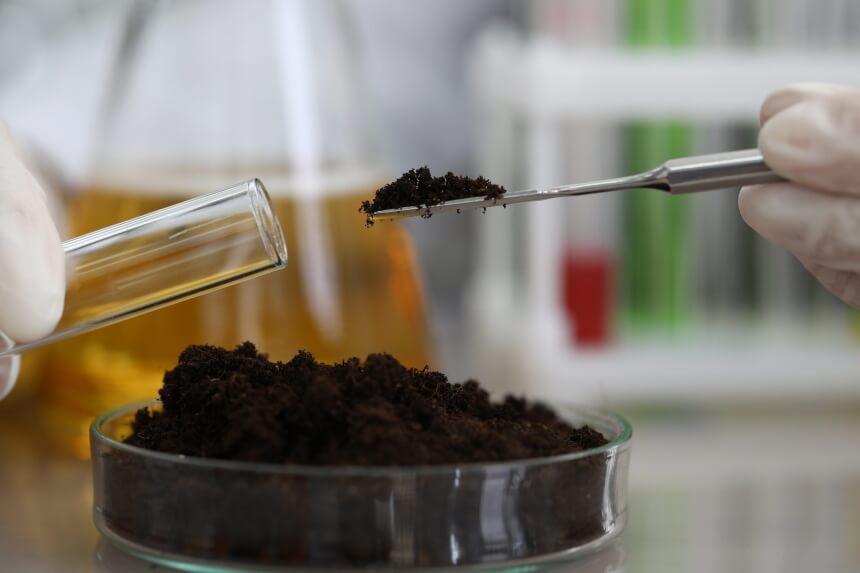
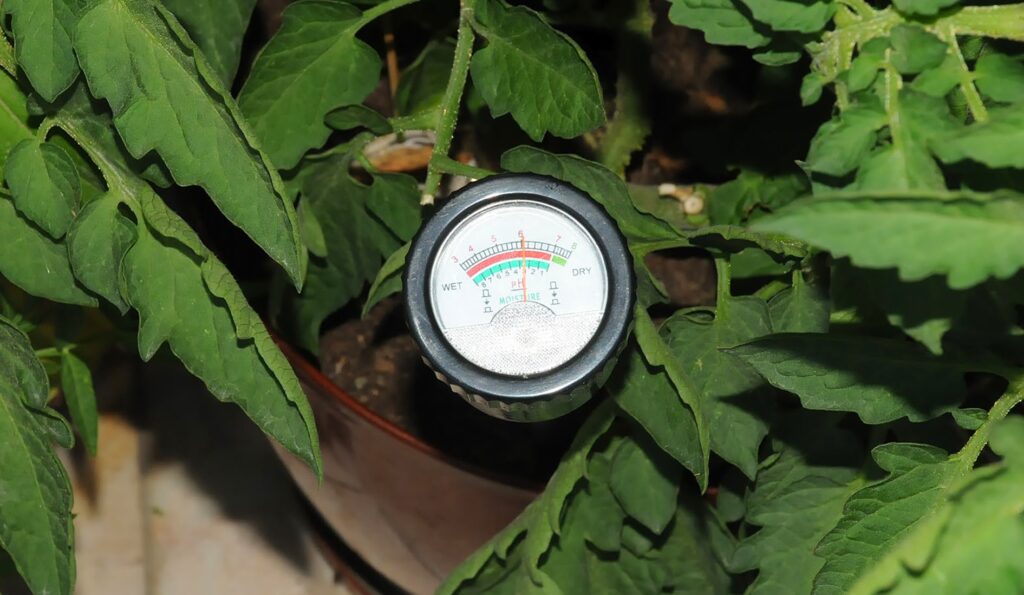
The sterilization process ought to begin with a test to determine the elements present in the soil. You should also bear in mind the plants you want to farm. If you want the best soil for herbs, for instance, you have to know the properties of the soil to ensure that the sterilization method you choose will add value to it. In this article, we dive deep into the vital details of soil sterilization providing the necessary info you need to get started.
 Soil sterilization is a common practice for greenhouse farmers but the applications are not limited to the same only. Farmers are finding new ways to sterilize gardens and considerably large farms to mitigate the various risks that come with soil reuse. Here are some of the reasons why you need to sterilize your soil.
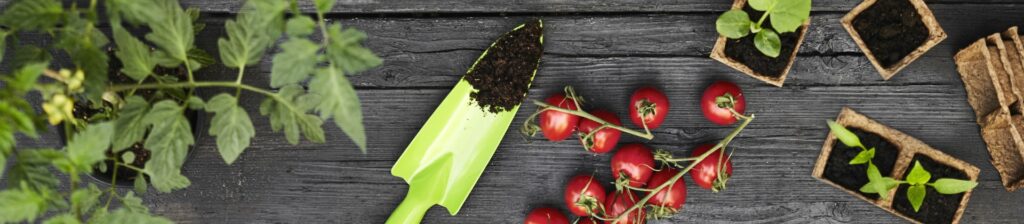
Soil borne diseases are a threat to the lifeline of plants that you germinate or transfer into your garden. The best soil for raised beds is that which has been sterilized to remove any residues that cause soil borne diseases. Such diseases are caused by pre and post-emergence damping off that results in the buildup of unwanted pathogens in the soil that are detrimental to the growth of the plants. If you want to raise healthy crops and benefit from the produce then sterilization is the best way to keep the soil borne diseases away.
Reusing soil has consequences and parasites are among the undesirable elements that invade the soil over time. The various soil sterilization techniques gives you the chance to kill bacteria, fungi, viruses, nematodes, and other pests that may have made your garden their habitat. Destroying this microbial and viral population may require you to use advanced sterilization methods to ensure that the sought after properties of the soil are not destroyed alongside the organisms. For this reason, a soil test is fundamental to ensure that you are handling the situation correctly.
Soil contains the necessary nutrients for plant growth. Over time, the soil is invaded by pathogens and pests that destroy the crops resulting in low yield which compromises crop security. Soil sterilization is the one sure way to guarantee that crops will grow to maturity and give the anticipated produce. This preventative measure has helped many farmers across the globe get bumper harvests with minimal hassle.
The quality of the plants grown on sterile soil is also better provided the right procedure is used.
Not all soil sterilization methods are appropriate for your garden as some may have adverse effects depending on various factors. You have to familiarize with the properties in your soil to determine the best alternative to go for. Below we discuss some of the common sterilization methods that you will come across in your endeavour to get the best results.
 Chemical treatment is a common method that farmers use when they want to treat soil on a large scale. You can use this technique if the other methods are tedious for the amount of soil you have. Using chemicals comes with certain hazards that you ought to prepare for. The treatments available in the market feature easy applications done within a short time and the results are guaranteed. You have to know the issues you are dealing with to pick the ideal chemical treatment for your soil.
When picking a soil test, you have to be keen on the provisions of the same as it will dictate the type of chemical treatment that is appropriate. As per many reviews left on stores that sell such products, the My Soil test kit is the most accurate and easy to use pro-option available. The various kinds of chemical treatment have certain downsides that you should bear in mind if you choose to use them. Chemicals pose a risk to users and those lose to them if not handled properly. The modern ones in the market have limited applications forcing you to use more than one variety to achieve the desired results.
Beware of the quarantine period required after using a particular treatment to ensure that all the chemical residue is eliminated.
 Sterilizing with steam is one of the most recommended ways to treat your soil before planting. This is an appropriate choice for home gardeners who do not wish to introduce chemicals to the soil due to different reasons such as poisoning. You can choose to use a pressure cooker to steam your soil for efficient and quick results. For this method, you need to put several cups of water into the pressure cooker and insert the rack. Use heat-proof containers to steam the soil with each having no more than four inches. The containers should be covered with foil, and the pressure valve left slightly open. As the pressure builds up, adjust the setting to ensure that you sterilize the soil at ten pounds of force for a maximum of thirty minutes.
Anywhere from fifteen minutes is permissible as dictated by the quality of soil you are working with. When you remove the cooker from the heat source, do not open it immediately. Allow the pressure to go down for safety reasons. Remember to store the steamed soil with the foil cover until you are ready to use it to protect the purity.
You can use a non-pressurized container as well for steaming. If the soil you are using has a high nitrate concentration, steaming can result in an explosion. Always test the soil to familiarize yourself with the properties to mitigate any risks.
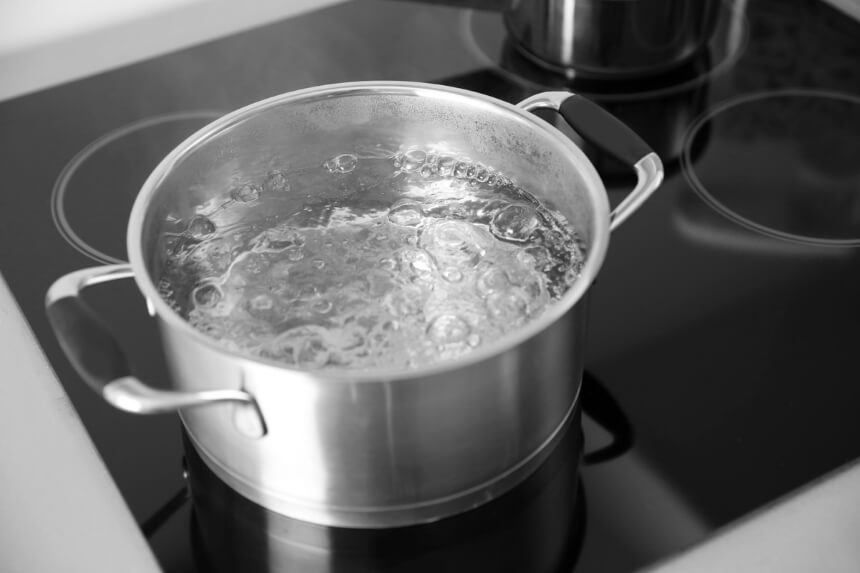 Boiling utilizes the same technique as steaming. Contrary to popular belief, boiling does not include placing the soil directly in water and bringing it to the highest temperature permitted. Most garden owners prefer this method as it is more manageable especially for those with indoor plants or small gardens. Bring water to boil in a pan proportional to the soil that you want to sterilize. Using a rack, place the soil above the boiled water in appropriate packaging. Leave the water to boil as the steam escapes through the small opening between the loams for up to thirty minutes.
The temperatures can go to a maximum of two hundred- and twelve-degrees Fahrenheit to get to the heat-resistant viruses and weed seeds. The internal temp of the substrate should not be too high as this could cause some level of toxicity to the soil rendering it useless after the treatment. Mineral and potting soils have a different reaction to this kind of treatment in comparison to the mixtures with high decomposable matter. You can opt for steaming if you are unsure how to control the temperature of the boiling water for optimum results.
Soils with high nitrate levels are not ideal for this type of treatment due to the explosive nature of this compound when subjected to high temperatures.
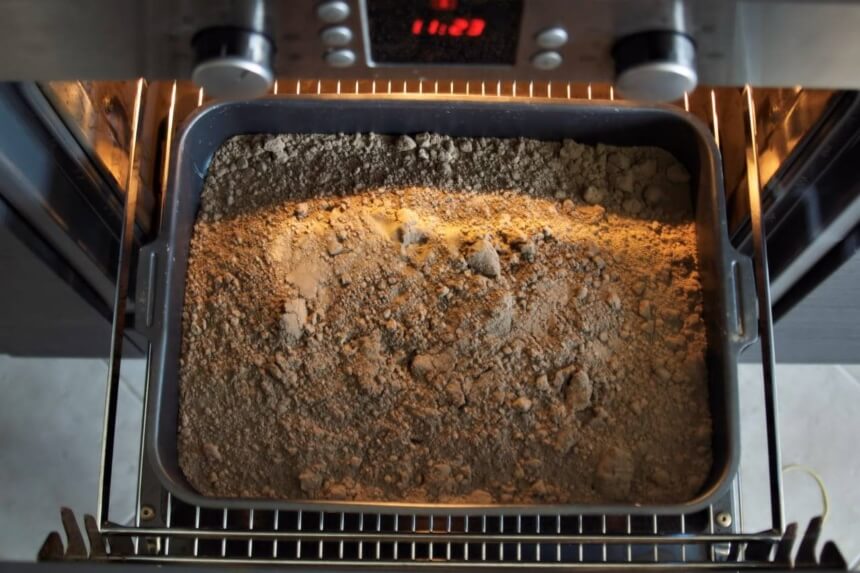 This kind of sterilization works best for small and medium-sized batches of soil. The limiting factor is the size of most ovens in the market for the home setup. If you are doing this in your kitchen, get ready for some unpleasant odor due to the various components present in the soil. Sufficient ventilation is necessary for this process to ensure that the air in your home does not get oversaturated with the cooked soil smell.
The amount you process is dictated by the containers you use and how many of them can fit into the oven at a go. Start by preparing the soil and preheating the oven to 200 degrees Fahrenheit.
Preparation should involve the removal of sticks, stones, and any other loose matter. Use a container that can withstand the high heat in the oven and foil as the cover. The aluminum foil prevents the soil from drying before the sterilization process begins. Measure three inches of soil for each of the tins you use to allow the heat to reach and remove the unwanted properties. Moisten the soil with water but do not oversaturate. The moisture helps create steam that kills the contaminants in the earth. You ought to monitor the internal temperature of the soil until it reaches 180 degrees Fahrenheit. Allow the soil to bake for up to thirty minutes. Allow the soil to cool after this process at room temperature.
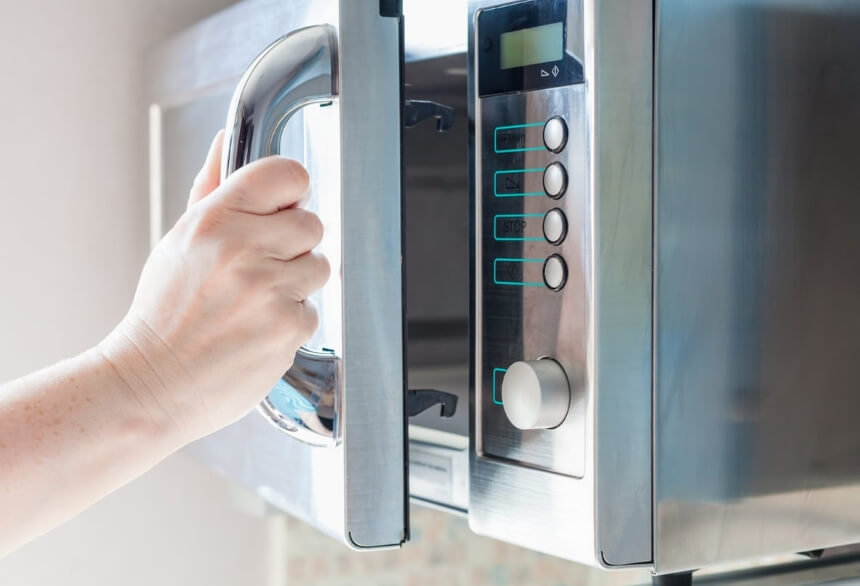 Microwaves are limiting when it comes to space. For this reason, you have to ensure that the soil you need for your plants is not too much. It is tedious to keep repeating the process necessary for
sterilizing soil in a microwave
Trusted Source
You use your microwave to cook? How passé . . . | Energy | The Guardian
The Good Housekeeping Institute suggests 10 novel uses for your oven.
www.theguardian.com
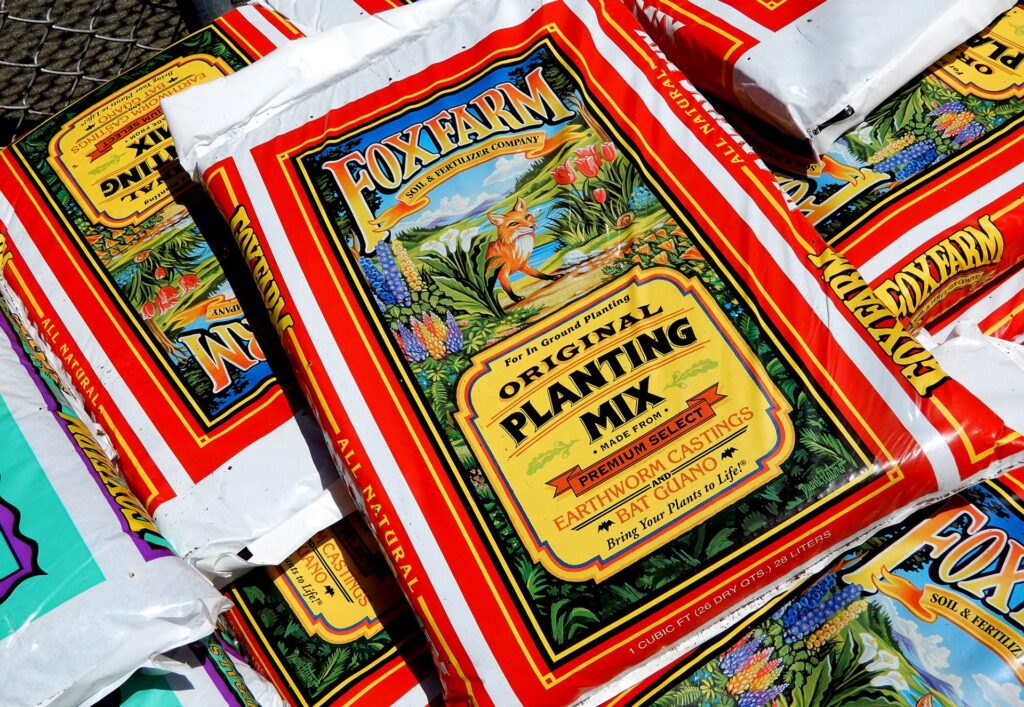
. If you are out of options, consider replacing the soil with some of the commercial mixes tailored to meet your needs. According to many reviews that you will come across if you choose to go down this path, the FoxFarm planting mix is a viable choice. It is ready to use for garden beds any other settings that require the macronutrients it has. You can use ziplock bags for better results or any other microwave-friendly container as dictated by the quantity you need.
Microwaves are limiting when it comes to space. For this reason, you have to ensure that the soil you need for your plants is not too much. It is tedious to keep repeating the process necessary for
sterilizing soil in a microwave
Trusted Source
You use your microwave to cook? How passé . . . | Energy | The Guardian
The Good Housekeeping Institute suggests 10 novel uses for your oven.
www.theguardian.com
. If you are out of options, consider replacing the soil with some of the commercial mixes tailored to meet your needs. According to many reviews that you will come across if you choose to go down this path, the FoxFarm planting mix is a viable choice. It is ready to use for garden beds any other settings that require the macronutrients it has. You can use ziplock bags for better results or any other microwave-friendly container as dictated by the quantity you need.
Allowing for free circulation of air in the room is crucial before you begin the process due to the odor from the soil as you heat it in the microwave. Break the clumps and moisturize it to provide the right conditions for the sterilization procedure. The actual time it takes for the process to be complete depends on the microwave you have and the highest temperature it can achieve. Place the ziplock or container in the middle of the microwave plate and keep heating until it reaches 200 degrees Fahrenheit. Once this temp is reached, remove the soil and allow it to cool before using.
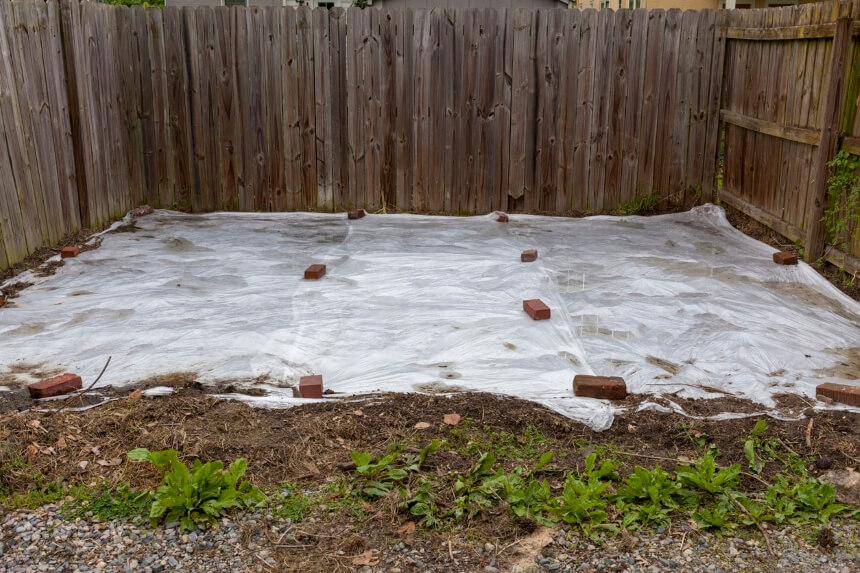 Solarization is the process that allows you to sterilize soil using heat from the sun. The most significant limitation of this technique is that you can only do it during certain times of the year when the sun is out blazing. The heat from the sun is used to accumulate temperatures in the soil wrapped in plastic bags. The temp kills unwanted pests, bacteria, and diseases from the soil. This option is appropriate for people who want to sterilize large amounts of soil without introducing chemical components. You can choose to work with large quantities or small ones as dictated by your needs and budget.
Clear plastic is the ideal choice as it allows for easy penetration of the rays into the soil. Thin plastic has both pros and cons that you must think about. For projects that are likely to go for long, it is best to work with durable plastic to withstand the conditions it is being exposed to. Prepare the soil by removing unwanted loose matter. Lay the plastic and spread a thin layer on it, then add water sparingly. Once the top is wet, cover it with thin plastic and secure the edges by tucking it in the soil. It takes anywhere between four and six weeks for sterilization to occur during the hottest time of the year.
Sterilizing soil has revolutionized the agriculture industry as farmers can control the properties they have in the soil. Choosing the appropriate way to sterilize soil plays a vital role in the success of any project. Initially, this was done for commercial purposes but has gradually become typical even for home gardens and indoor plants. The right supplies will ensure that the process is effortless.
Having the best garden fork for sizable spaces will make work more manageable, showing that the right gear is fundamental for any soil sterilization technique. Although doing it yourself may be a challenge at first. Over time, you will grasp the concept of how to sterilize soil. The methods will keep changing as advancements are made in this sector, and it is prudent to keep up with them if you are in the farming business for a long time.


I am pleased that I discovered this web blog, just the right information that I was looking for! .